一、什么是单点登录?
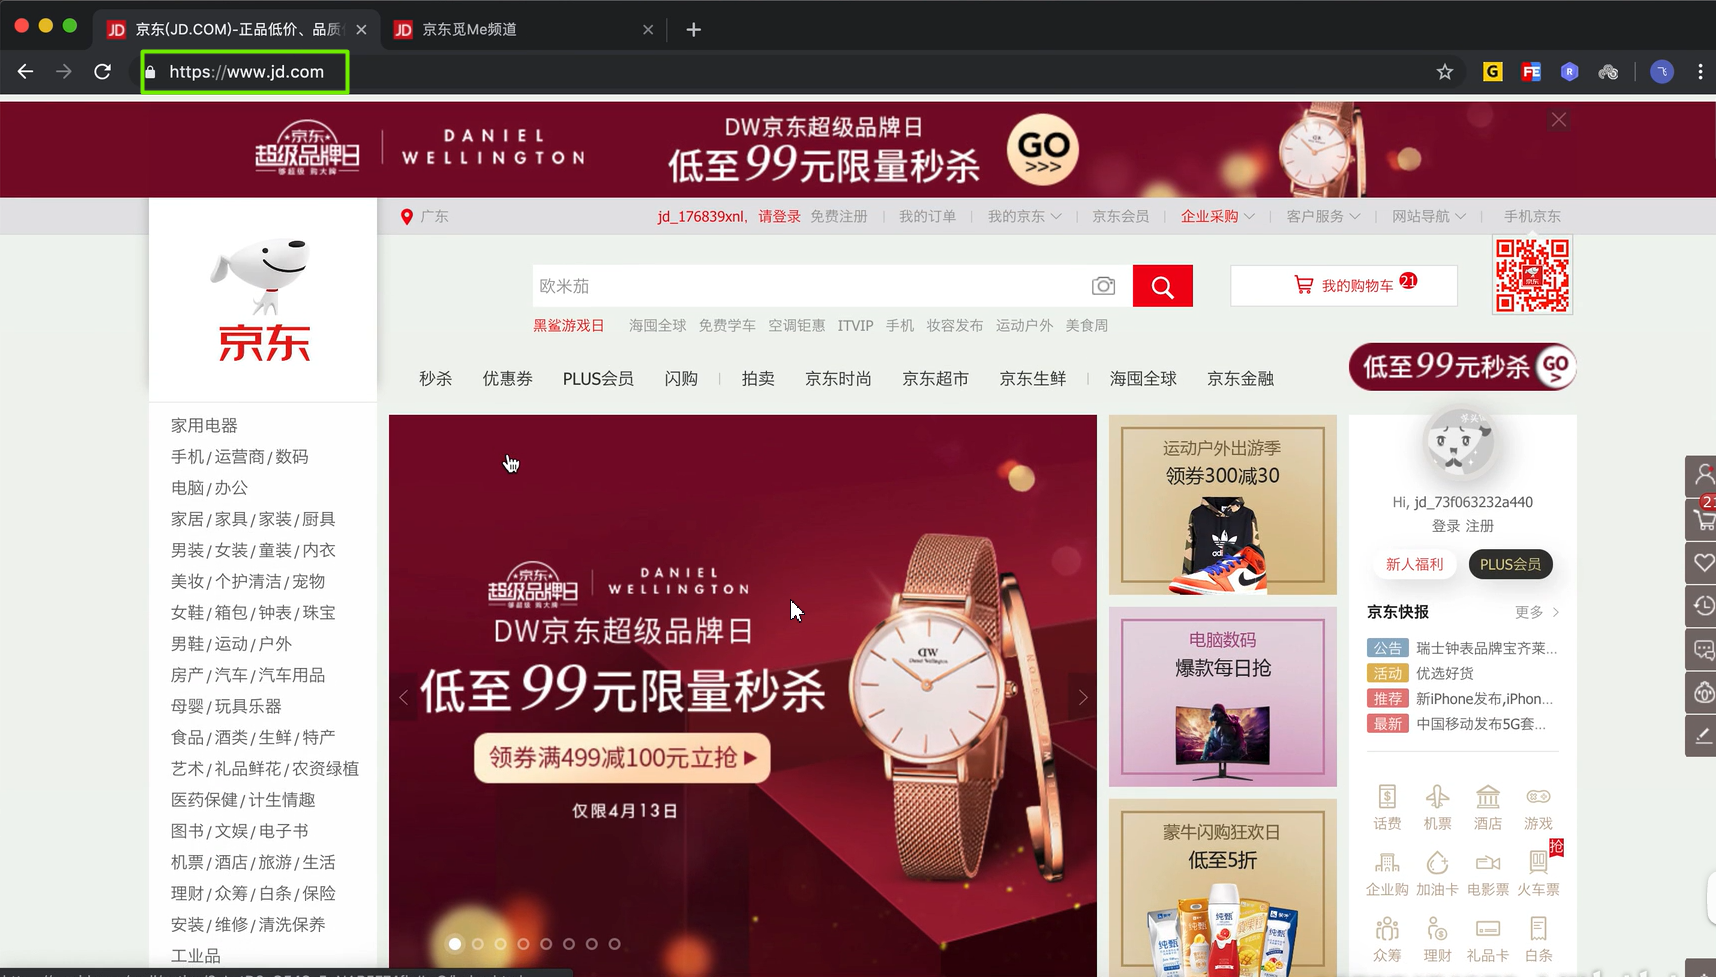
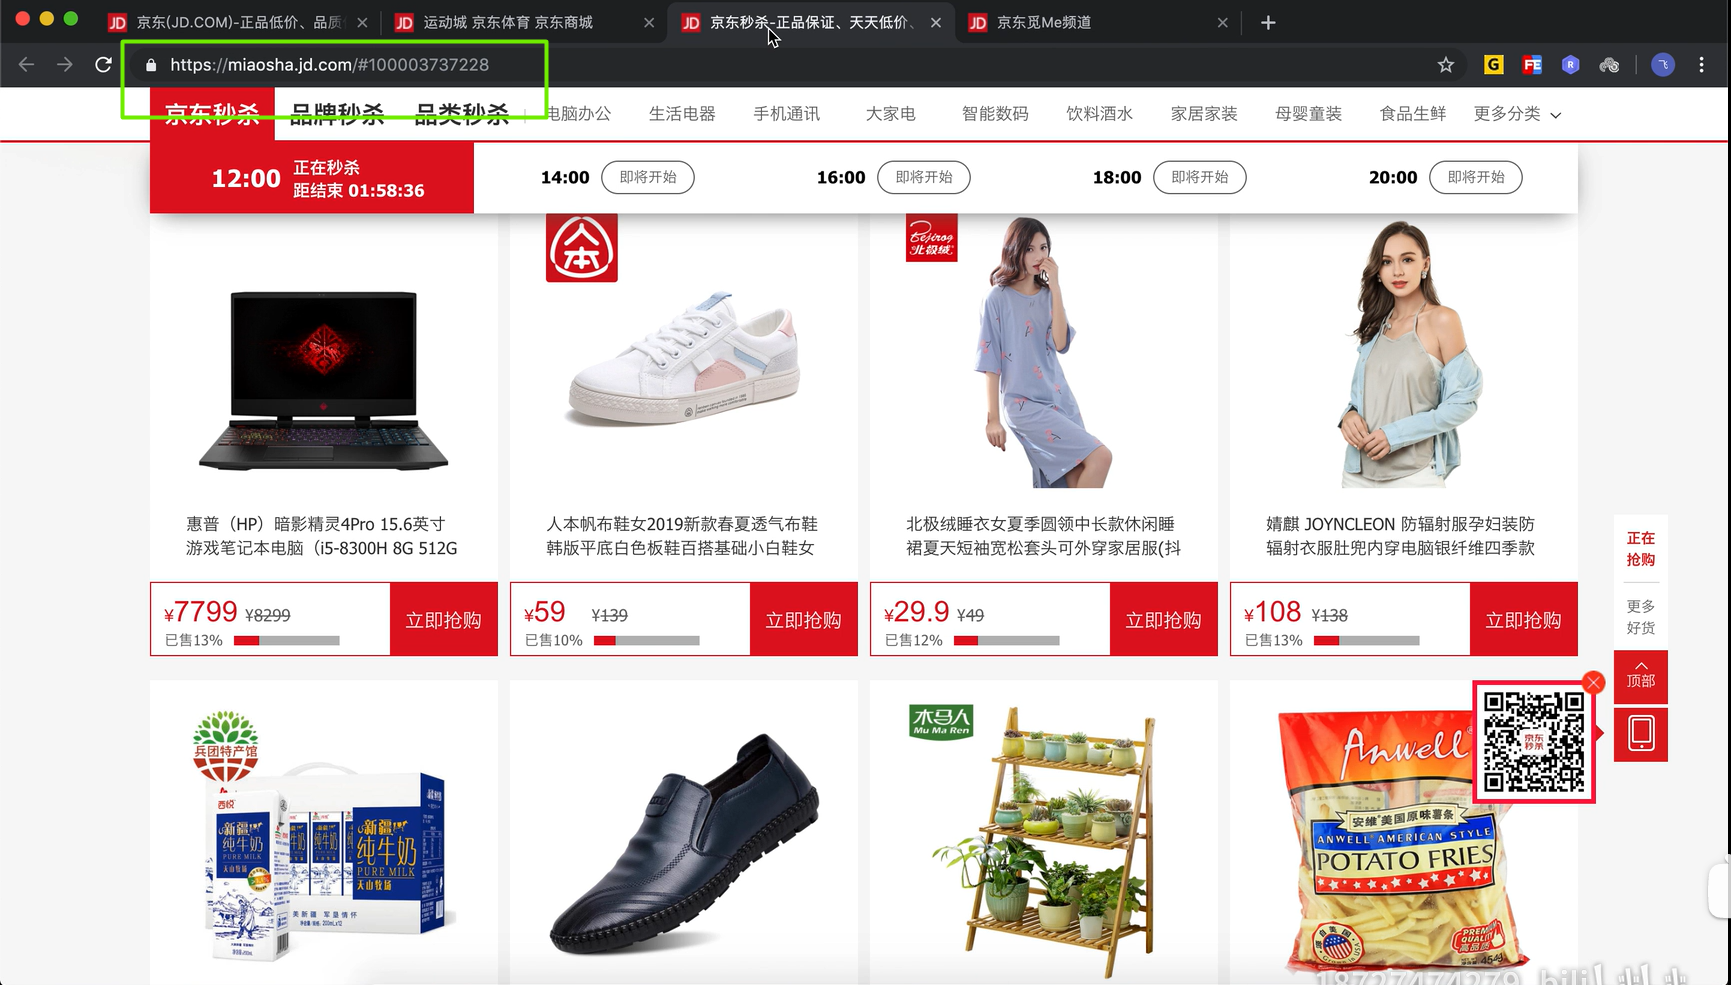
单点登录简称SSO(Single Sign On) ,列如登录京东官网,点开几个栏目,发现主域名一样(jd.com),而子域名是不一样的(miaosha.jd.com);在任何一个栏目进行登录再去点开其它的栏目发现也登录了,这就是单点登录。

二、通过cookie实现SSO

#上面这个需求中,告诉这代码商店有四个子系统,无论在那个系统登录都会跳转到登录系统,完成登陆后向发起登录的子系统写入一个cookie(用来在客户端存取数据的工具),保存用于认证用户是否登录的信息(token),其它的子系统要能访问到这个cookie,在其它子系统向服务器发送请求的时候,携带这个cookie完成登录。前提是:cookie的域要是所有子系统相同的域,这样所有的子系统才能访问得到这个cookie。三、编码来实现SSO
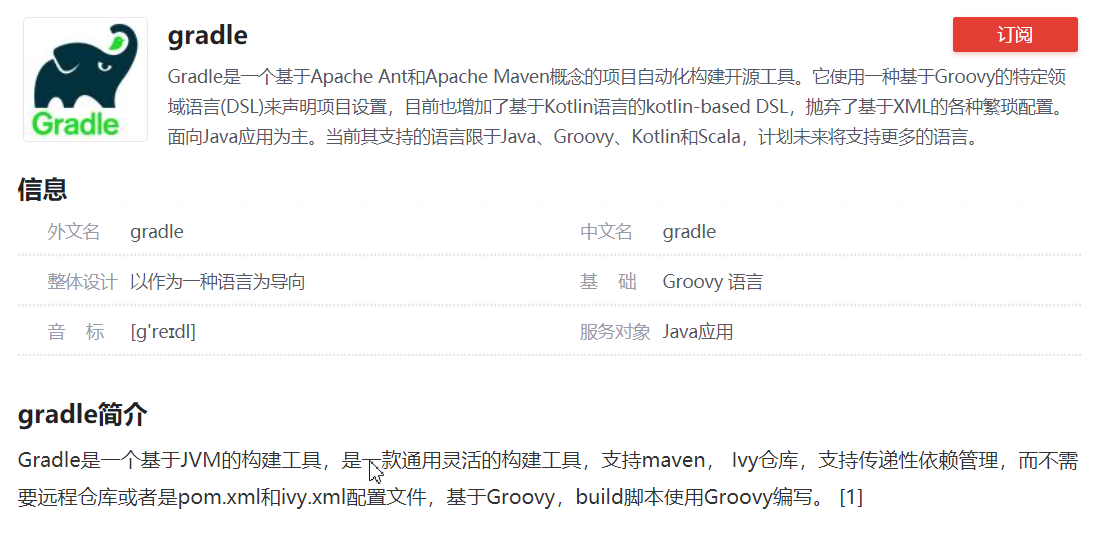
1、基于Gradle实现
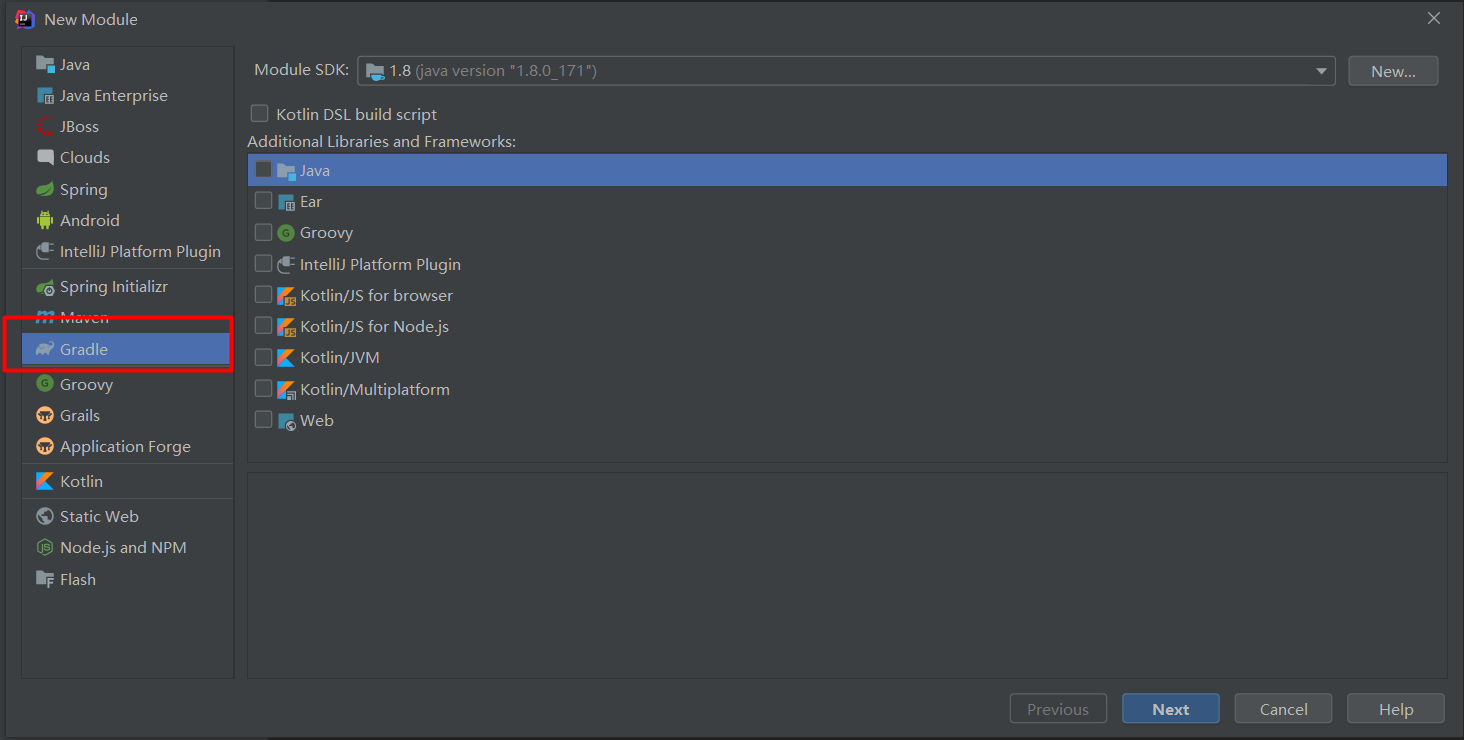
2、创建sso-use-cookie父模块和sso-main、sso-cart、sso-vip、sso-login四个子模块
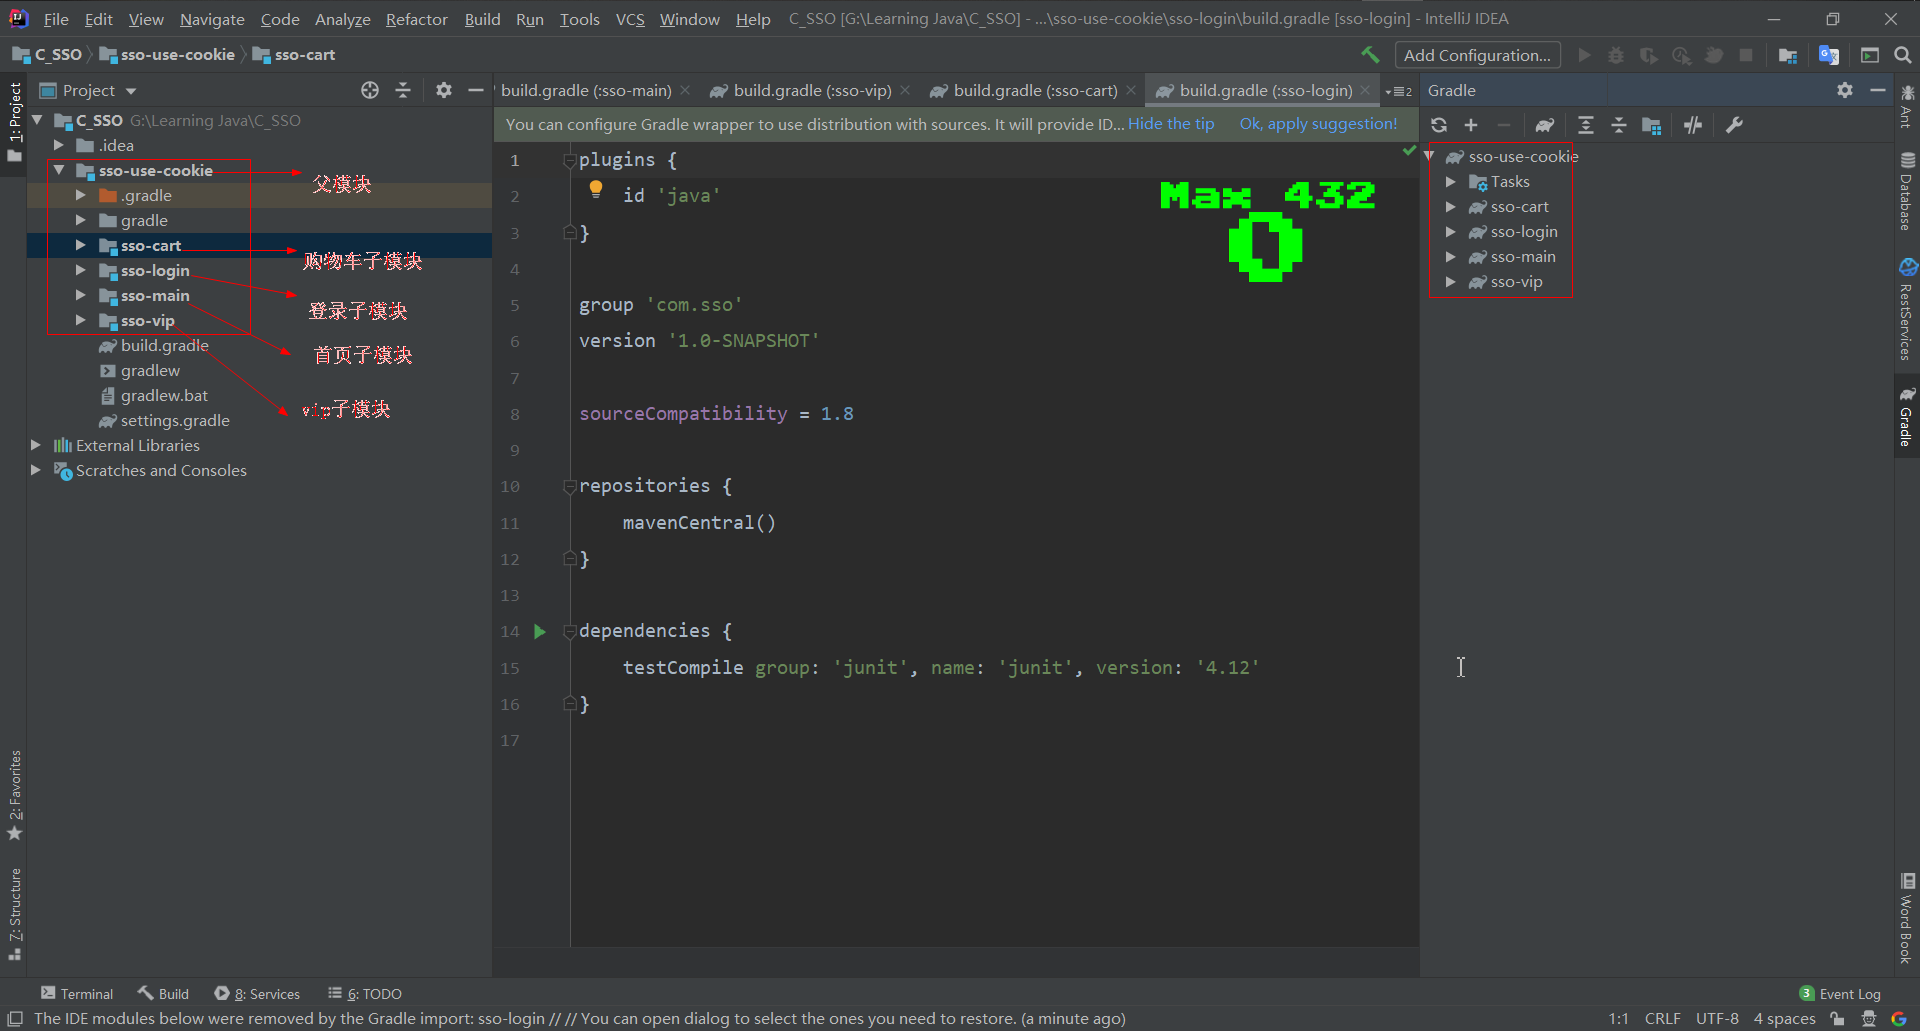
3、sso-use-cookie
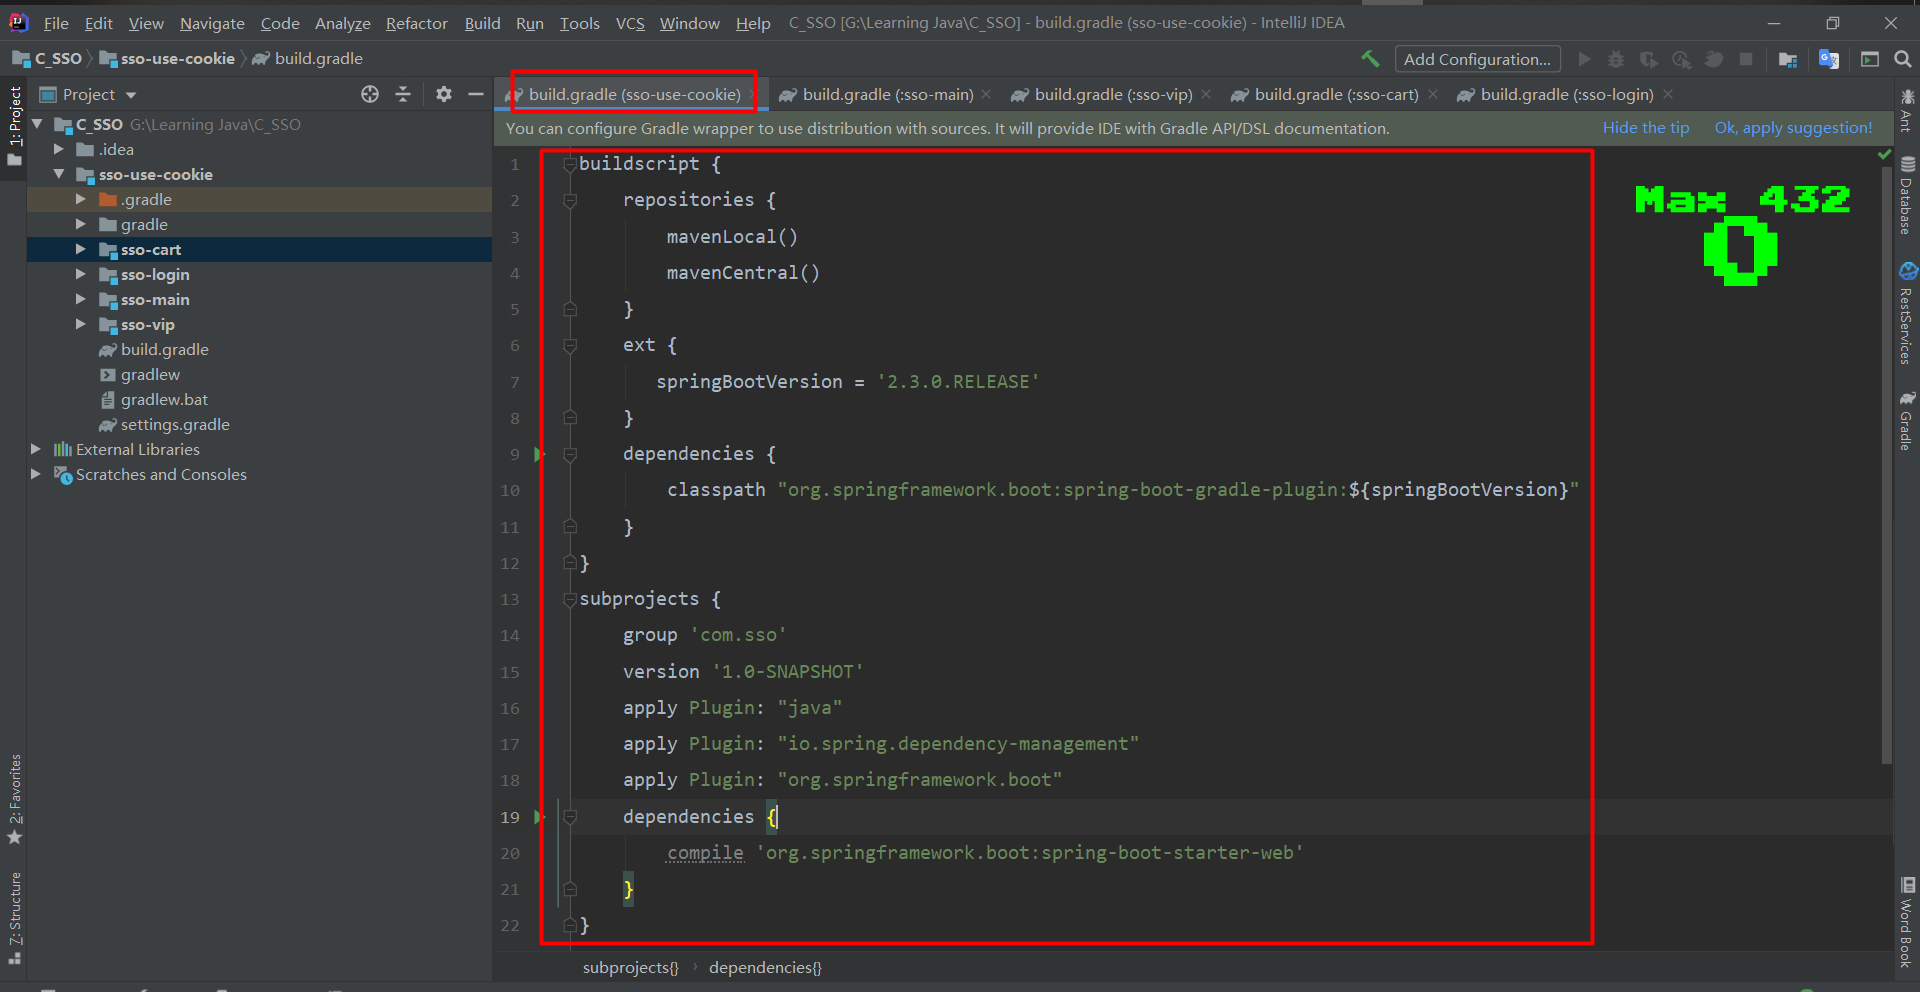
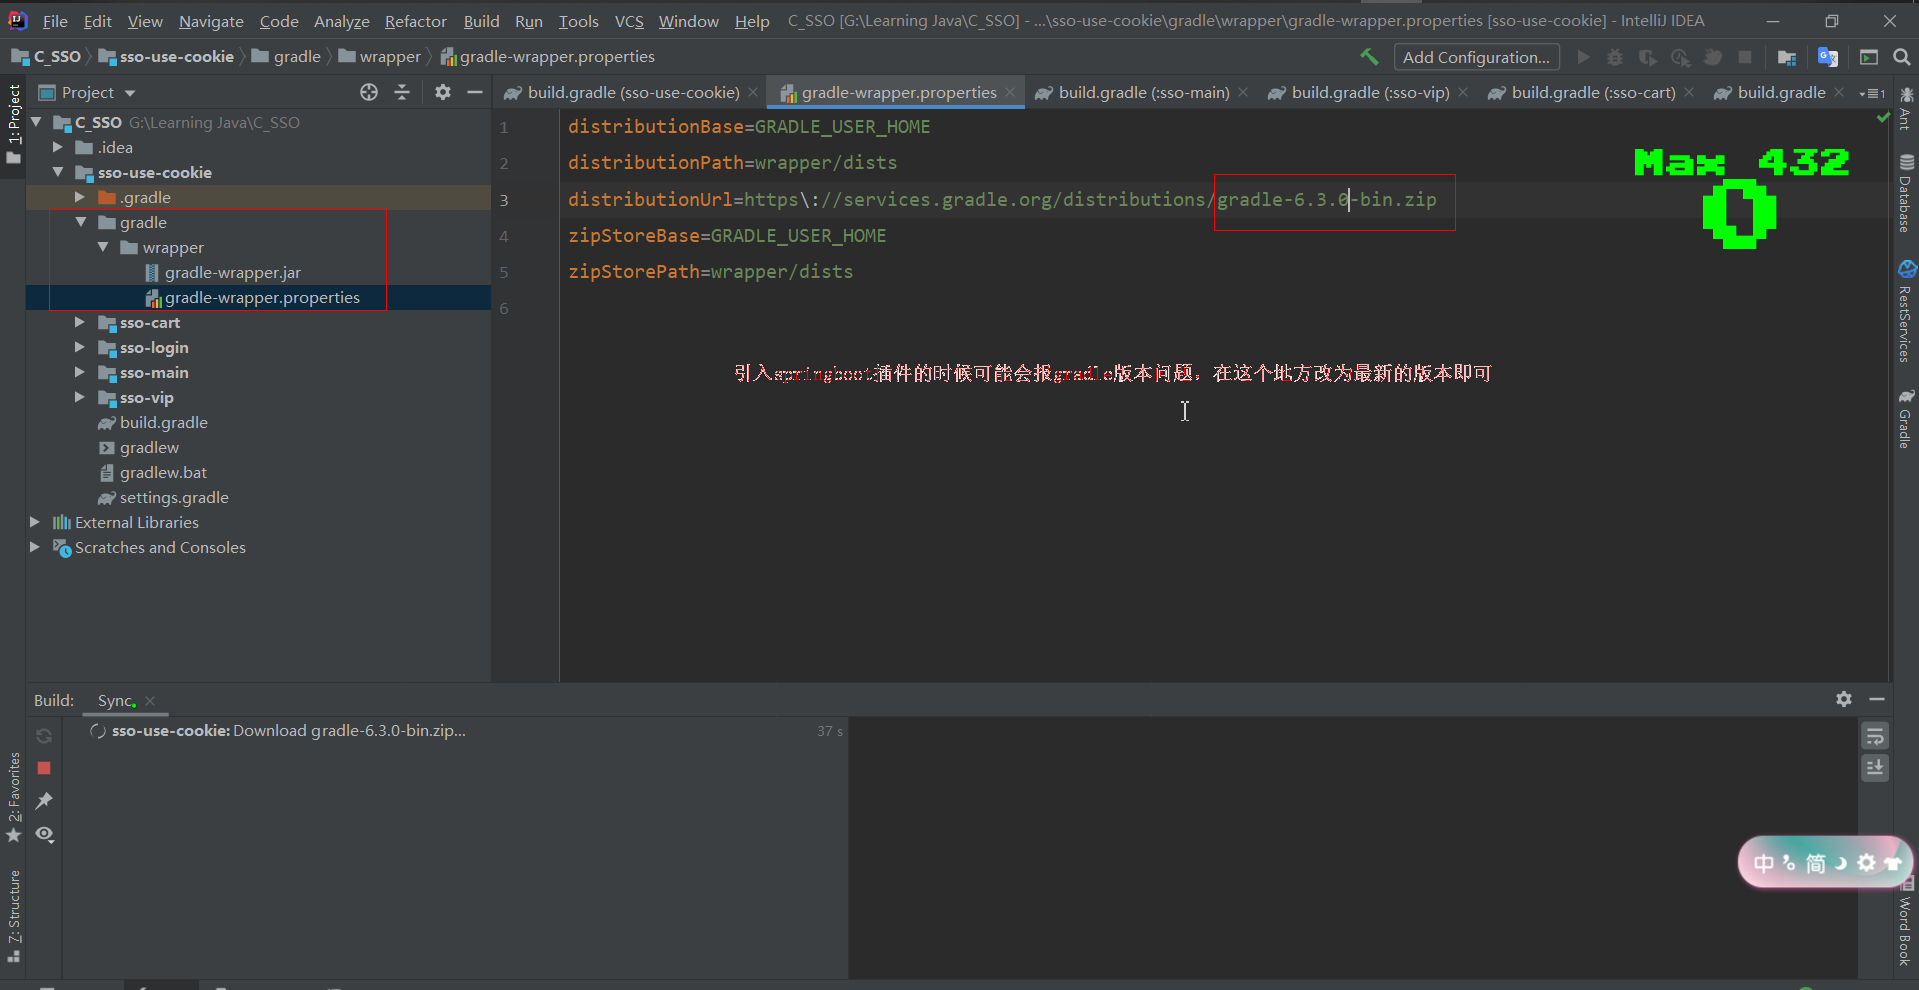
#在sso-use-cookie父模块下指定Gradle依赖下载地址
1、指定buildscript优先使用本地本地仓库,再使用maven的中央仓库
    repositories {
        mavenLocal()
        mavenCentral()
    }
2、指定springboot版本
    ext {
       springBootVersion = '2.3.0.RELEASE'
    }
3、导入springboot引用插件
    dependencies {
        classpath "org.springframework.boot:spring-boot-gradle-plugin:${springBootVersion}"
    }
4、给每个子模块导入依赖,通过subprojects,首先各个子模块group和version相同,定义在一起就好;都是java工程,然后通过apply plugin导入java插件、spring依赖管理插件、springboot插件;子模块导入依赖通过dependencies;由于在父模块中已经定义了相关依赖,对应的四个子模块中的配置文件可全部删除
subprojects {
    group 'com.sso'
    version '1.0-SNAPSHOT'
    apply Plugin: "java"
    apply Plugin: "io.spring.dependency-management"
    apply Plugin: "org.springframework.boot"
    dependencies {
        compile 'org.springframework.boot:spring-boot-starter-web'
        compile 'org.springframework.boot:spring-boot-starter-thymeleaf'
        annotationProcessor 'org.projectlombok:lombok:1.18.2'
        compileOnly 'org.projectlombok:lombok:1.18.2'
    }
}
4、sso-login、sso-main、sso-vip、sso-cart
#步骤
1、配置sso-login配置文件application.yml和写启动类LoginApp
2、用teymeleaf模板做页面展示,在sso-use-cookie的build.gradle中添加依赖;
3、创建实体类User;
4、创建控制类:LoginController和ViewController;controller中的只能使用@Controller的注解,不能使用@RestController;
#只能使用@Controller的注解参考文章:【https://blog.csdn.net/qq_36838406/article/details/100867004】
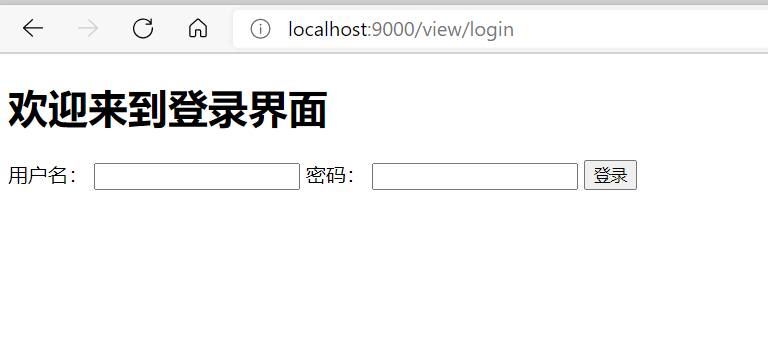
5、在Resources的templates文件夹下创建login.html网页;
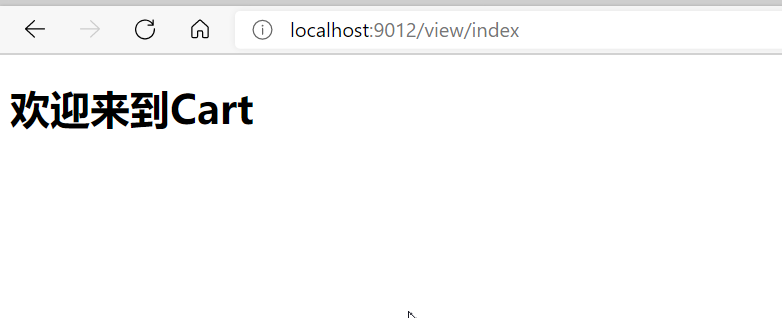
6、启动类LoginApp,访问ViewController中的方法,跳转到登录页面;
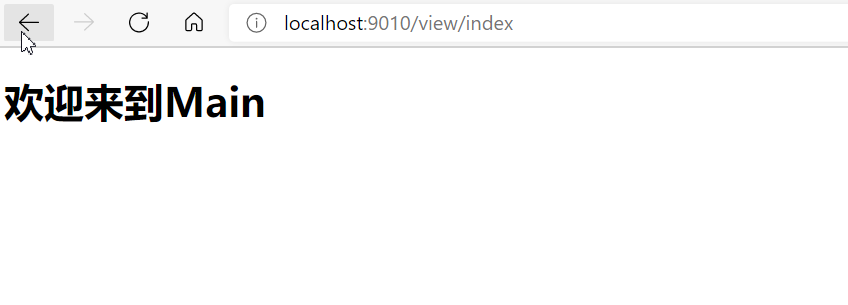
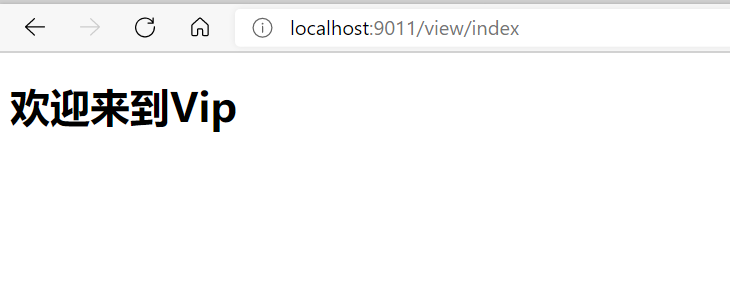
7、同理编写sso-main、sso-vip、sso-cart子模块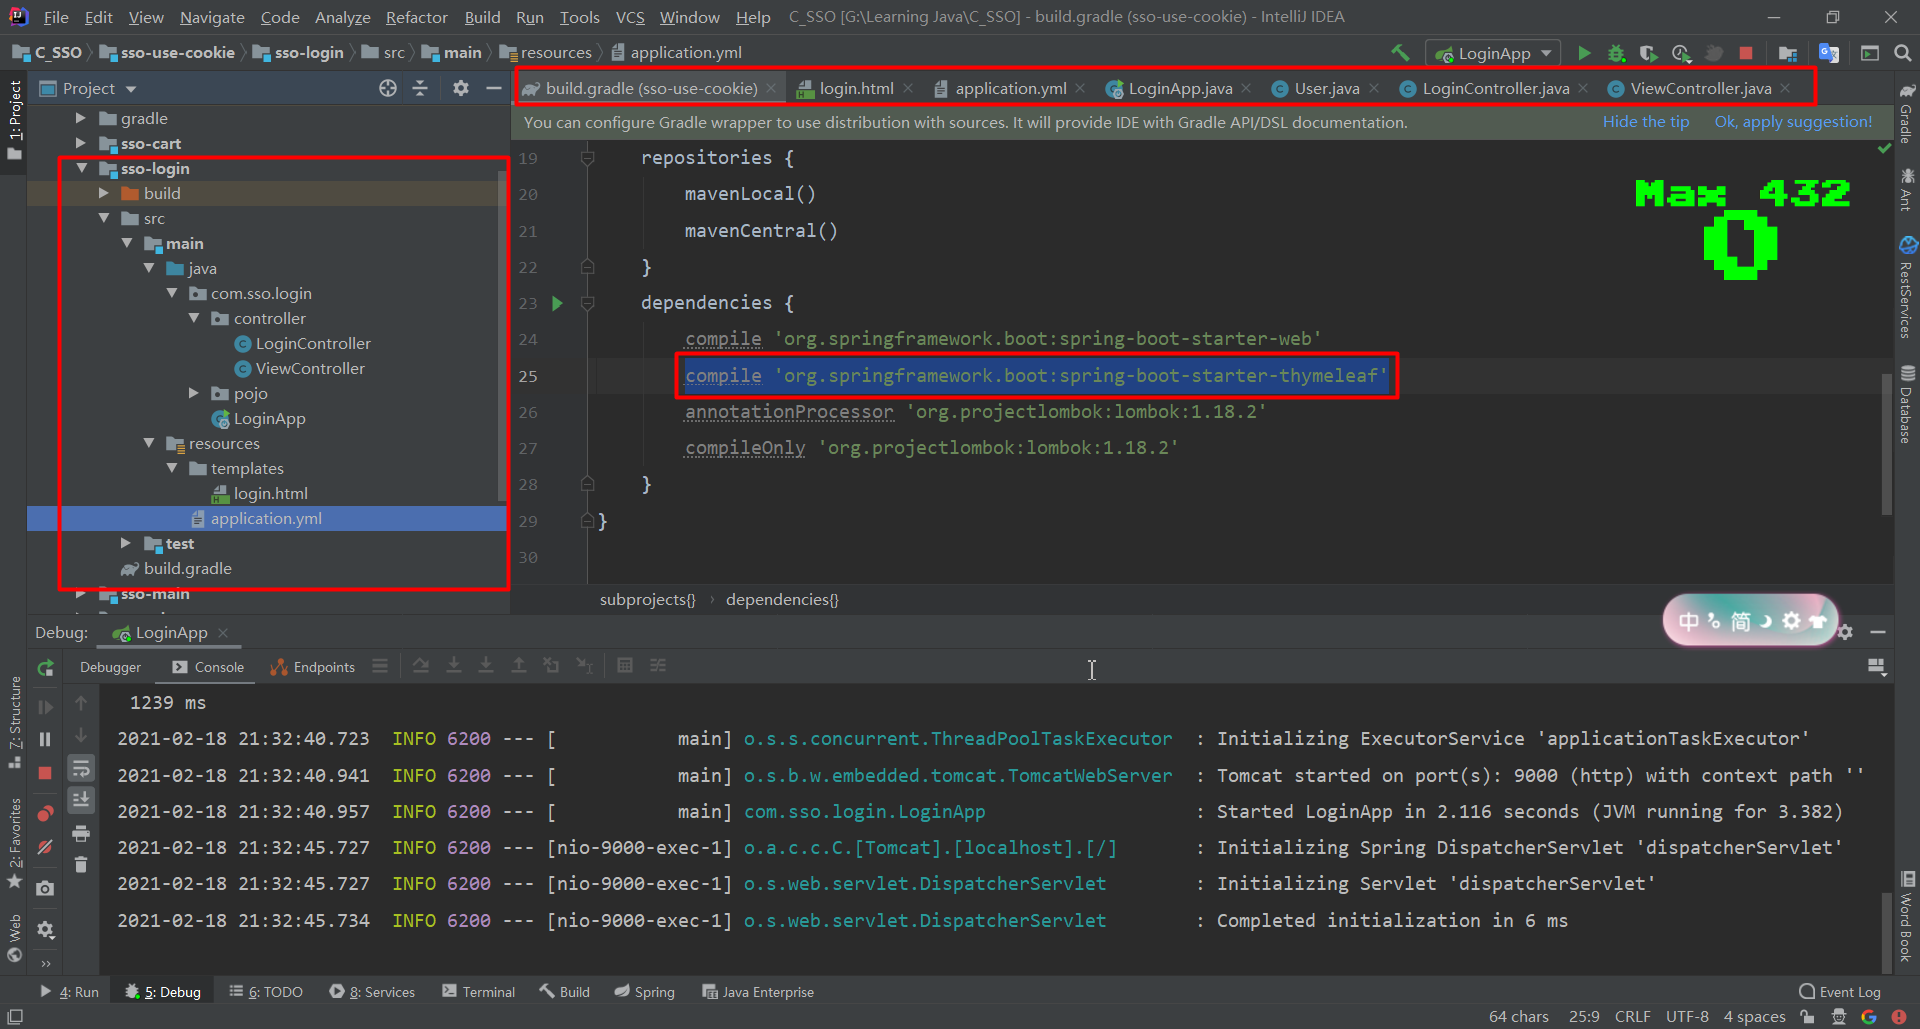
5、登录
#步骤:
1、根据需求把几个系统的IP地址(域名)进行映射;
#什么是域名映射?
	访问给定的域名就是到映射的IP地址上去
	windows管理员启动windows PowerShell ,输入命令notepad hosts编辑hosts文件,文件尾加入域名映射:
	127.0.0.1		www.lujiahong.com
    127.0.0.1		main.lujiahong.com
    127.0.0.1		vip.lujiahong.com
    127.0.0.1		cart.lujiahong.com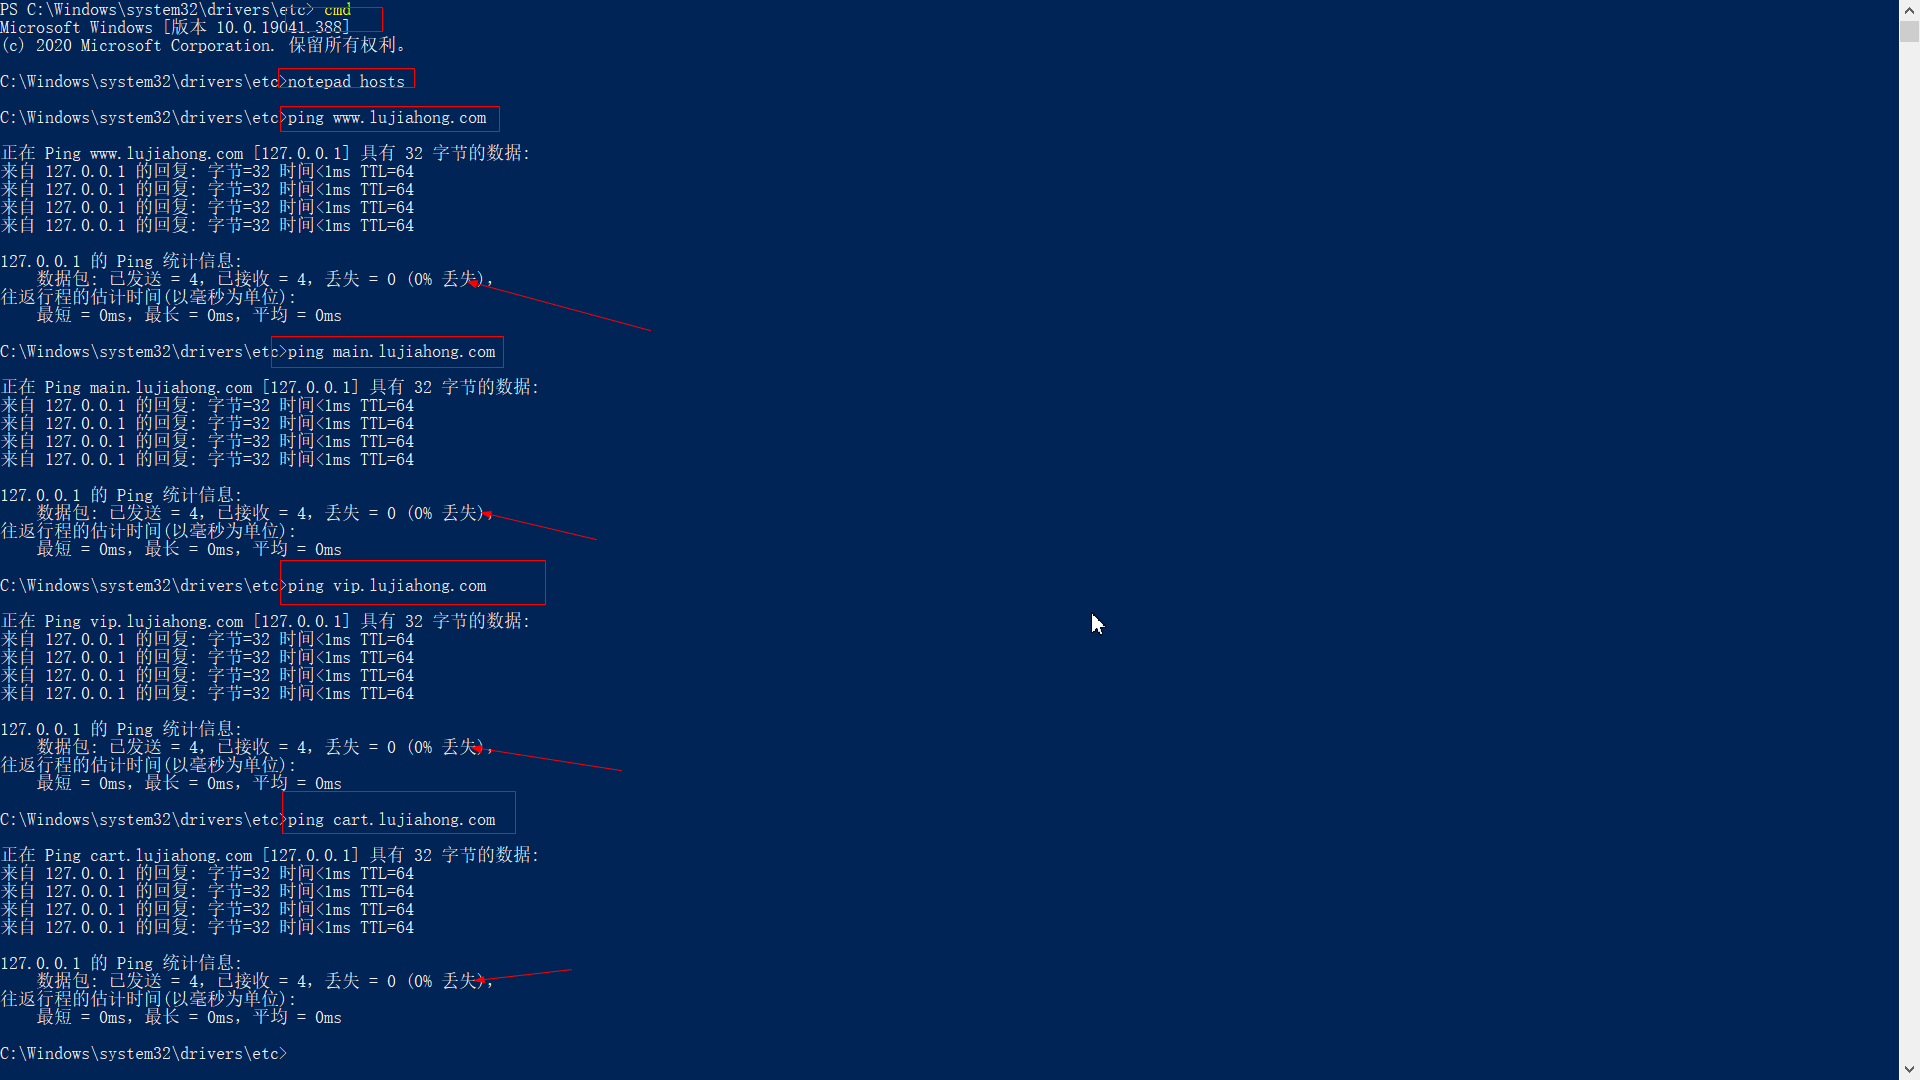
2、域名映射好后,去ping域名,都可访问成功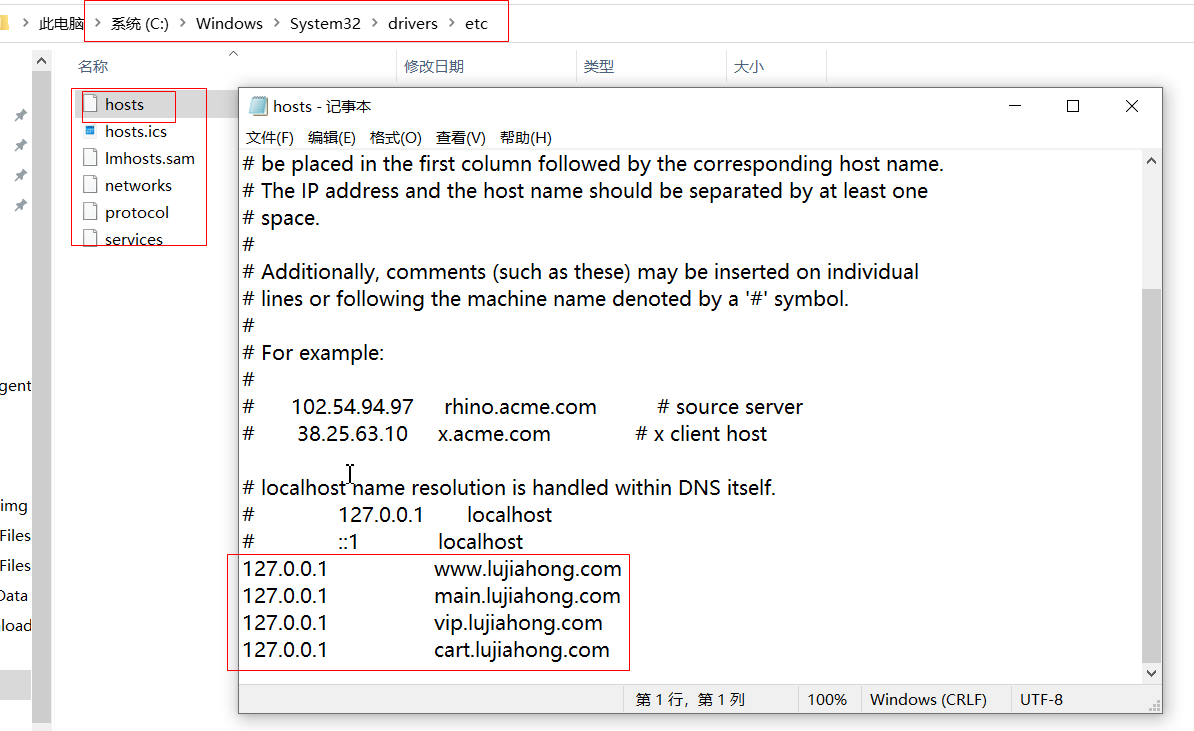
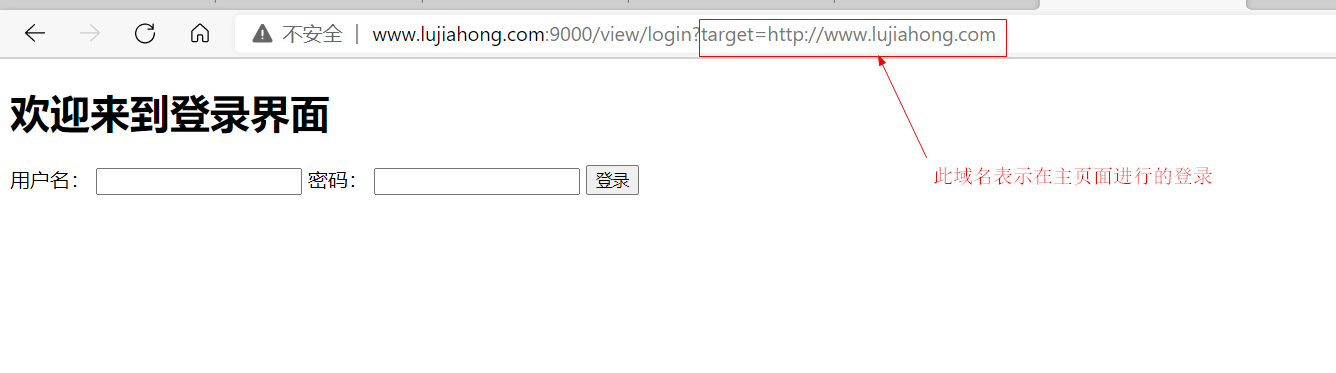
3、配置好域名后在sso-mian、sso-vip、sso-cart系统里面添加登录按钮,实现跳转到登录系统;由于登录成功后要跳转到发起登录的页面,因此登录的时候要带上发起登录页面的域名(IP地址),因此登录跳转连接上要携带这个参数;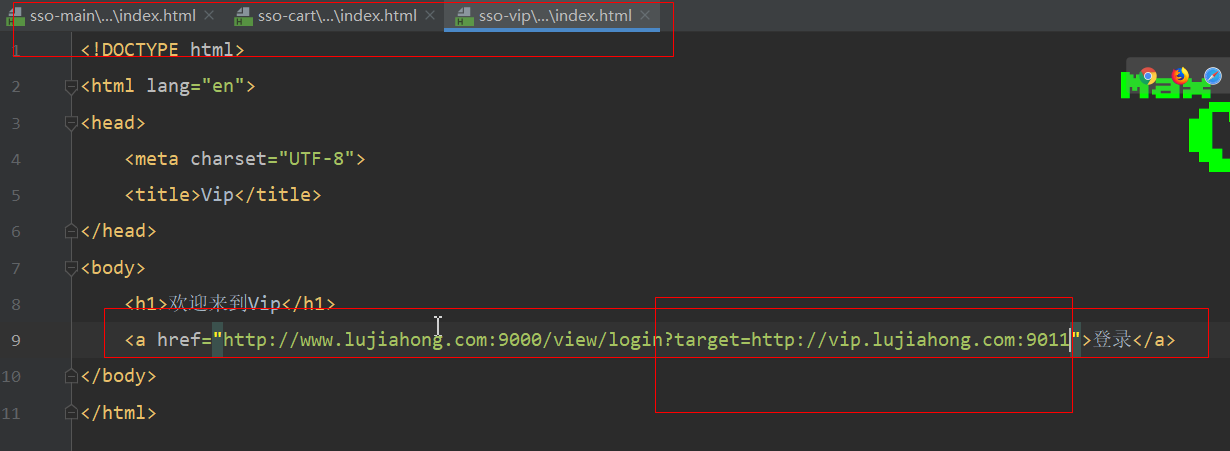
4、编写登录页面的业务逻辑(除登录系统登录成功跳转到主页面,其它系统登录成功,跳转到发起登录系统界面),写个工具LoginCache来保存用户信息;#ViewController
/**
* 页面跳转的逻辑
* 做页面跳转必须是@Controller不能是@RestController,参考文章:https://blog.csdn.net/qq_36838406/article/details/94220890
*/
@Controller
@RequestMapping("/view")
public class ViewController {
/**
* 跳转到登录页面
* @RequestParam表明不是从其它系统进入的登录系统,而直接进入的登录系统,那么定义默认target为空
* @return
*/
@GetMapping("/login")
public String toLogin(@RequestParam(required = false,defaultValue = "") String target, HttpSession session){
//若为空,则默认登录后跳转到主页面去
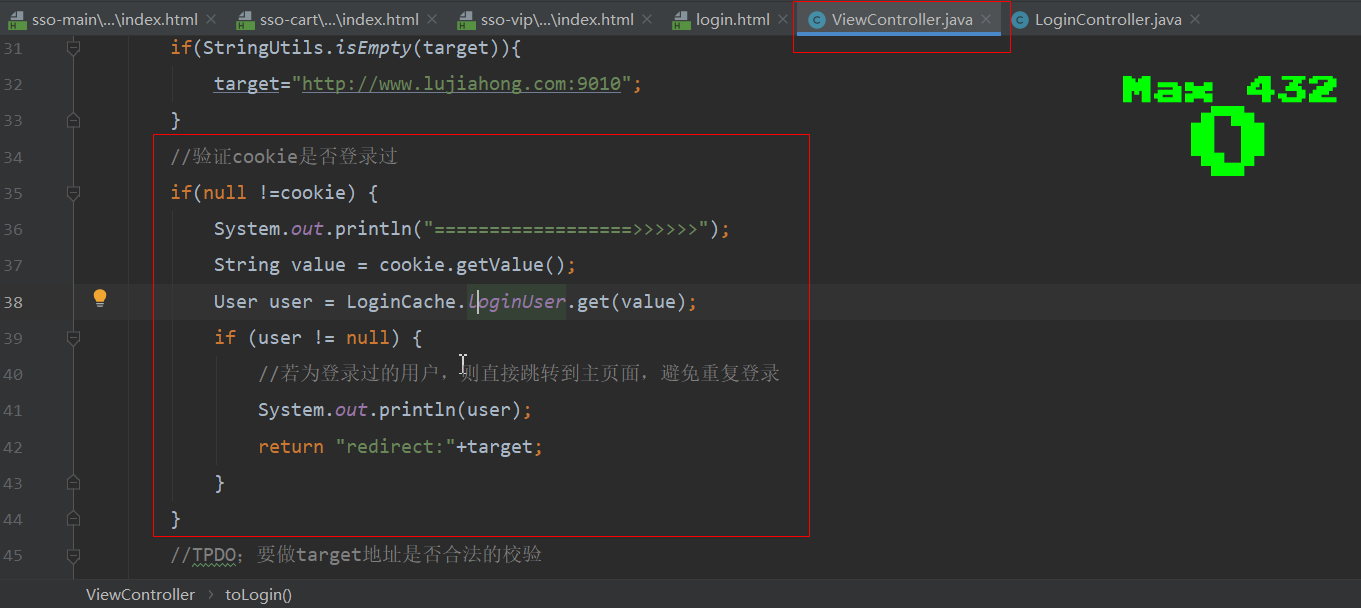
if(StringUtils.isEmpty(target)){
target="http://www.lujiahong.com:9010";
}
//TPDO;要做target地址是否合法的校验
//不为空存到session里面去,重定向地址
session.setAttribute("target",target);
return "login";
}
}#LoginController
/**
*登录判断,页面跳转
*/
@Controller
@RequestMapping("/login")
public class LoginController {
private static Set<User> dbUsers;
static {
dbUsers=new HashSet<>();
dbUsers.add(new User(1,"tom","666"));
dbUsers.add(new User(2,"jack","777"));
dbUsers.add(new User(3,"lisa","888"));
}
@PostMapping
public String doLogin(User user, HttpSession session){
//获取发起登录页面的IP地址
String target = (String) session.getAttribute("target");
//模拟从数据库中通过登录的用户名和密码去查找数据库中的用户
Optional<User> first = dbUsers.stream().filter(dbUser -> dbUser.getUsername().equals(user.getUsername()) &&
dbUser.getPassword().equals(user.getPassword()))
.findFirst();
//判断用户是否登录
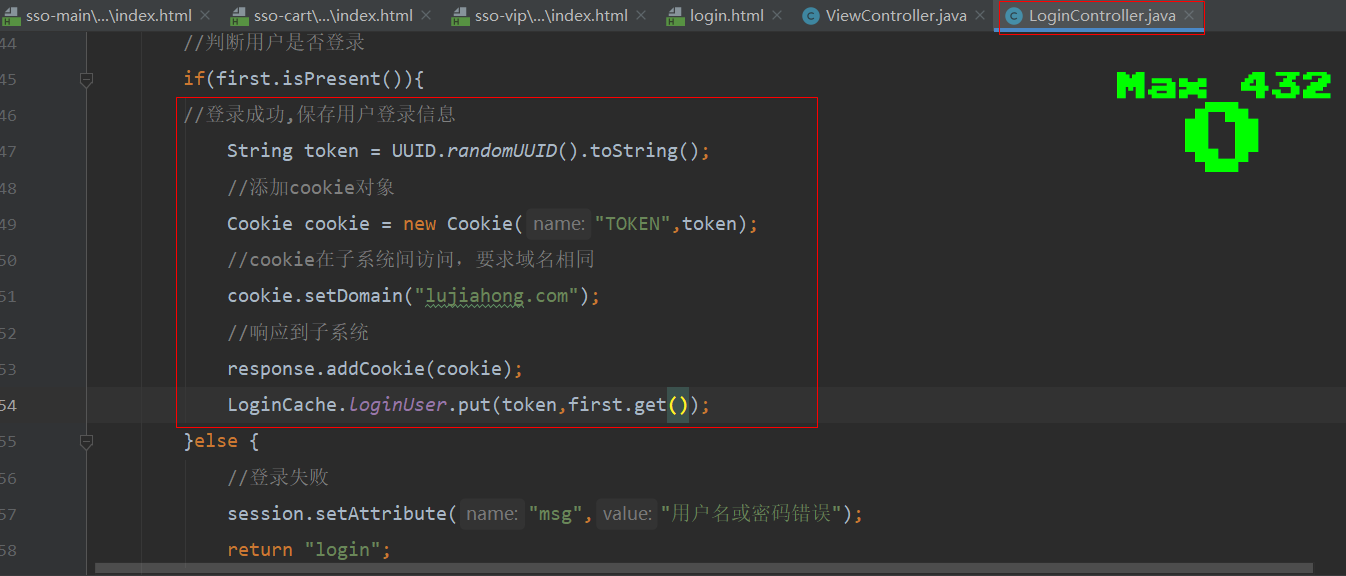
if(first.isPresent()){
//登录成功,保存用户登录信息
String token = UUID.randomUUID().toString();
LoginCache.loginUser.put(token,first.get() );
}else {
//登录失败
session.setAttribute("msg","用户名或密码错误");
return "login";
}
//重定向到target地址
return "redirect:"+target;
}
}#LoginCache
/**
* 登录缓存用户信息
*/
public class LoginCache {
//定义一个集合来装登录的用户信息
public static Map<String, User> loginUser = new HashMap<>();
}#login.html
<!DOCTYPE html>
<html lang="en">
<head>
<meta charset="UTF-8">
<title>Login Module</title>
</head>
<body>
<h1>欢迎来到登录界面</h1>
<p style="color: red" th:text="${session.msg}"></p>
<form action="/login" method="post">
<label>用户名:</label>
<input type="text" name="username"/>
<label>密码:</label>
<input type="password" name="password"/>
<button type="submit">登录</button>
</form>
</body>
</html>6、控制登录成功后不许跳转到登录系统页面了
通过cookie来实现,一旦登录了,不管在哪个子系统点登录按钮都不会跳转到登录界面了(前提:1、cookie对象不为空;2、各子系统主域名相同)
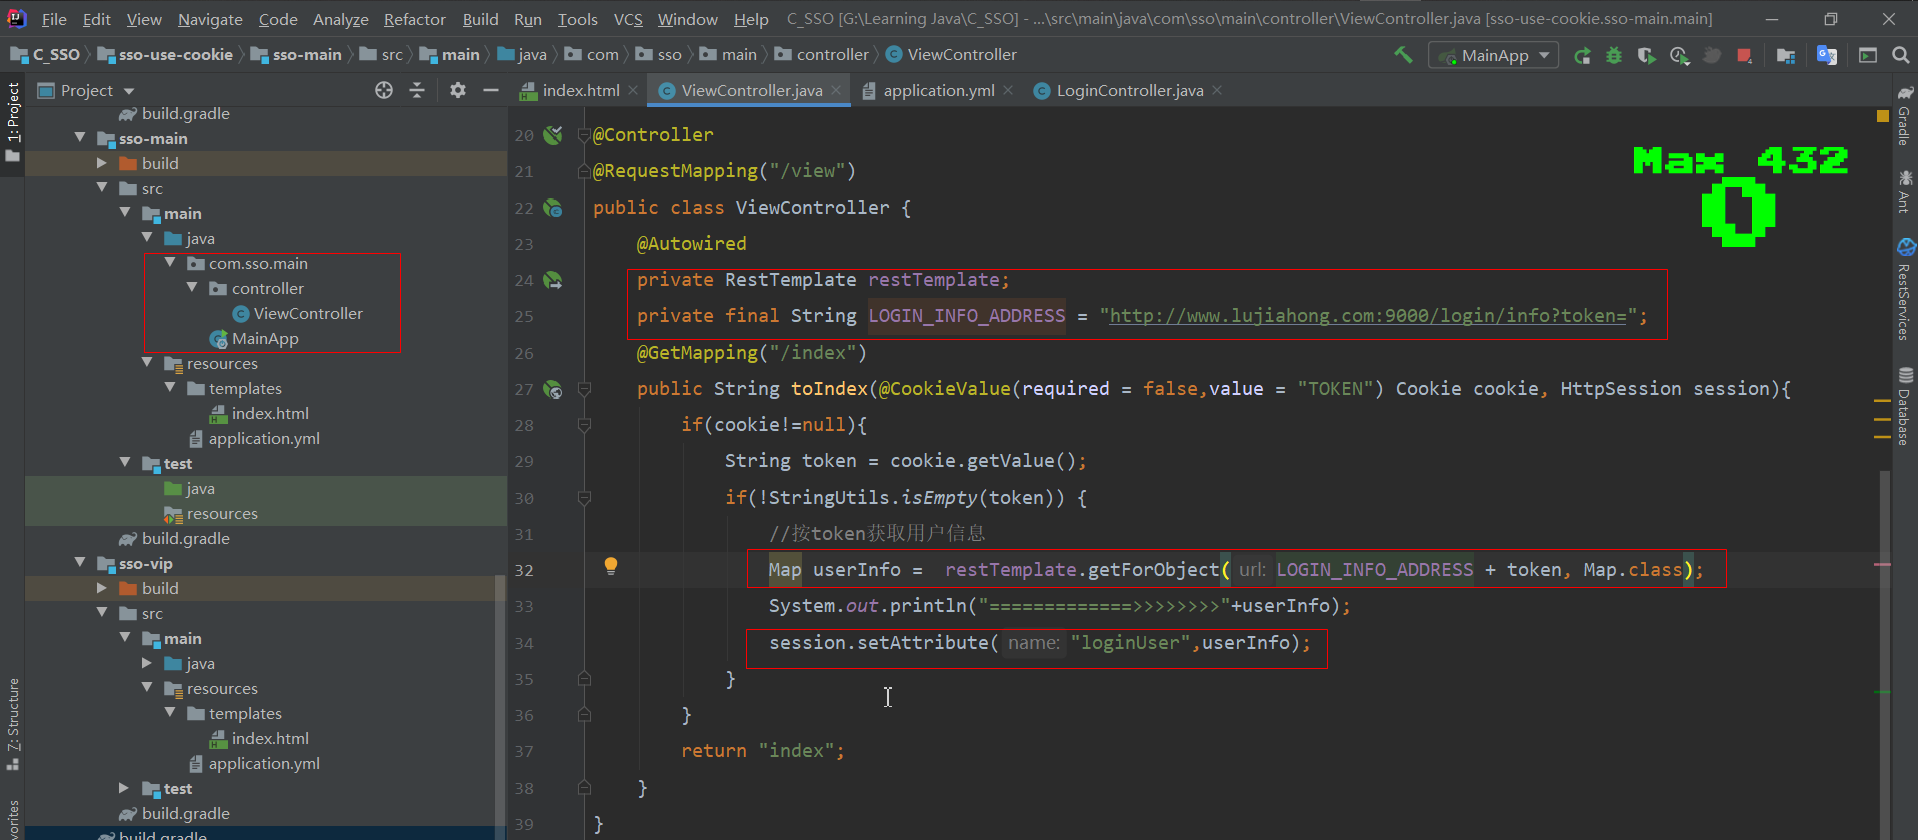
7、登录成功后不在展示登录按钮
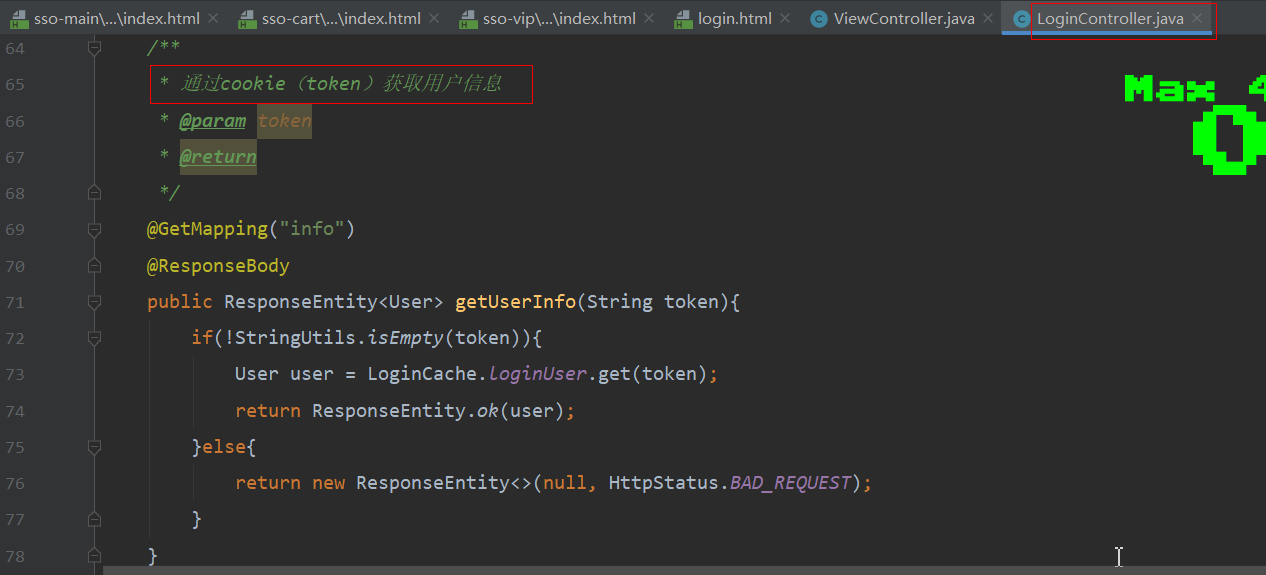
RestTemplate远程调用,按token获取用户信息;
thymeleaf来实现按钮的展示与否
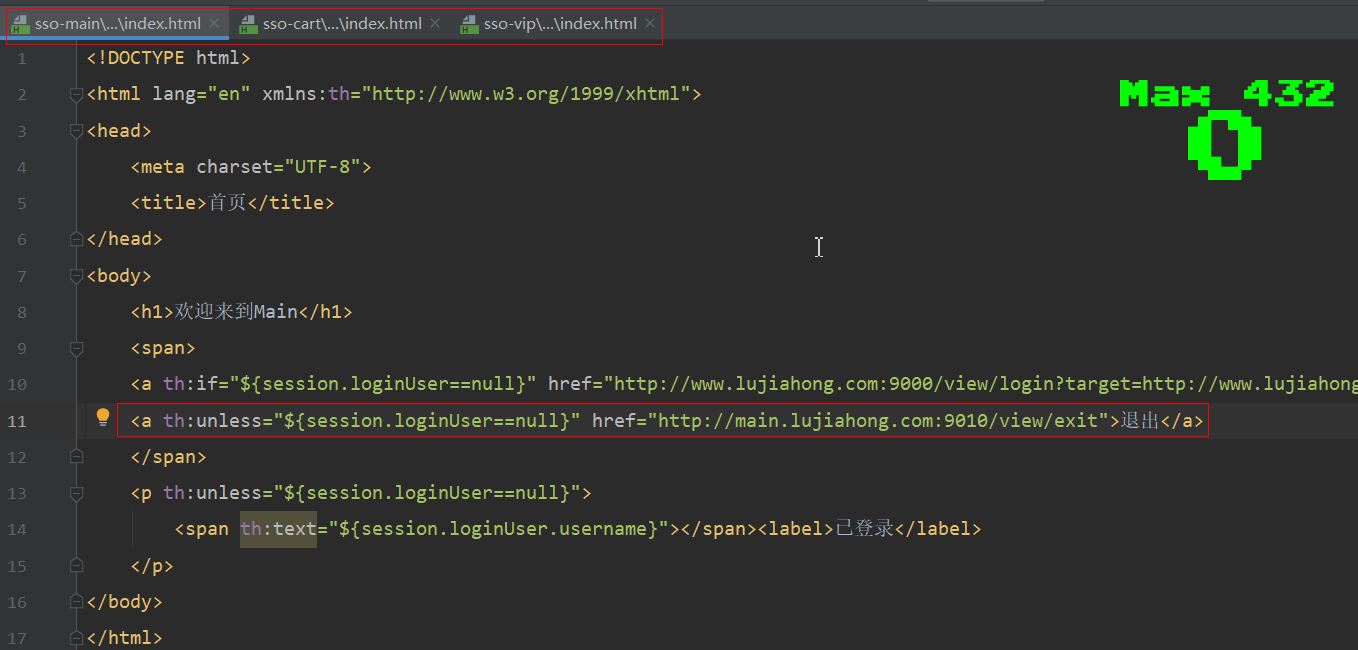
#主页thymeleaf的书写
<!DOCTYPE html>
<html lang="en" xmlns:th="http://www.w3.org/1999/xhtml">
<head>
    <meta charset="UTF-8">
    <title>首页</title>
</head>
<body>
    <h1>欢迎来到Main</h1>
    <span>
    <a th:if="${session.loginUser==null}" href="http://www.lujiahong.com:9000/view/login?target=http://www.lujiahong.com:9010/view/index">登录</a>
    <a th:unless="${session.loginUser==null}" href="#">退出</a>
    </span>
    <p th:unless="${session.loginUser==null}">
        <span th:text="${session.loginUser.username}"></span><label>已登录</label>
    </p>
</body>
</html>
#为啥要用@CookieValue(
required = false,value = "TOKEN") Cookie cookie?
1、登录成功后Cookie对象里面存取了一个,键为TOKEN,值为token(由UUID生成);工具类LoginCache用来存放登录用户信息,以token为键,以用户信息对象为值;
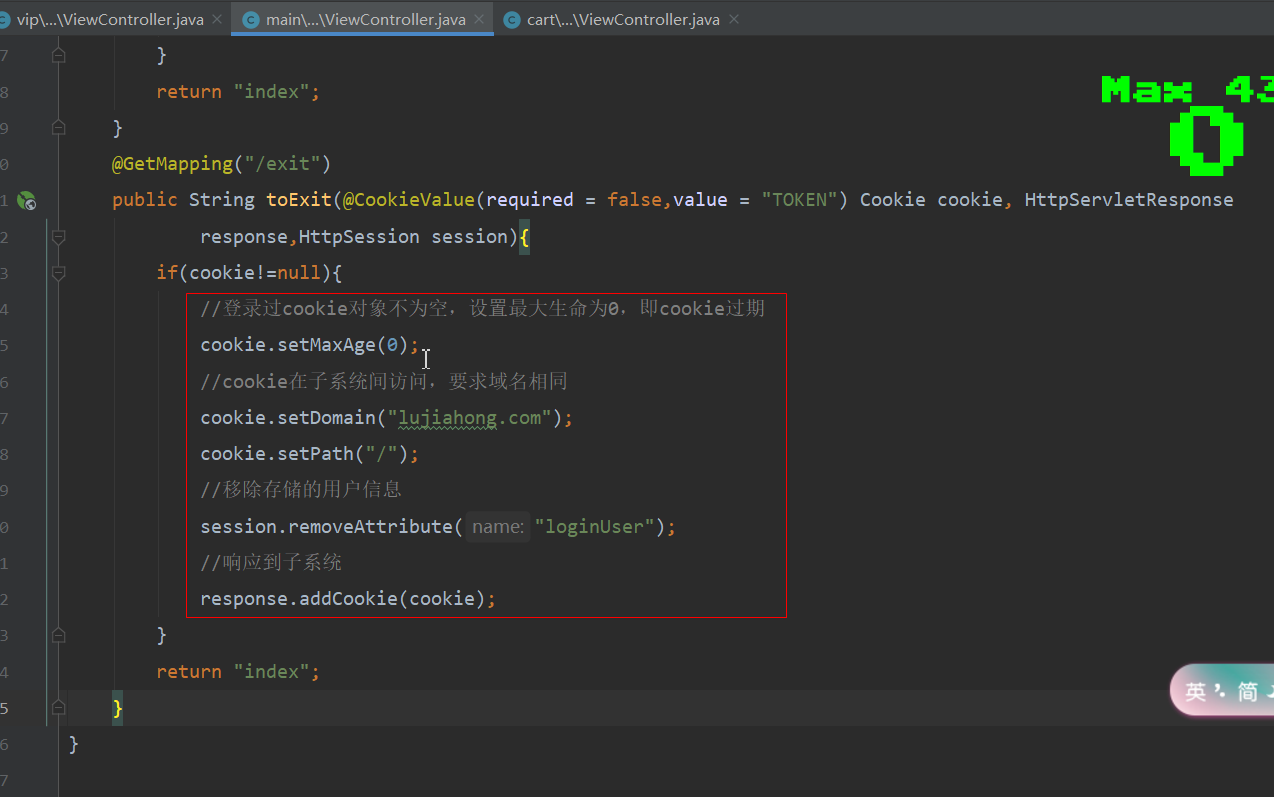
2、在登录接口里面做了逻辑判断,即Cookie对象不为空、token不为空,则存在登录用户,所以不用重新登录,直接返回主页面;反之没有用户登录,需跳转到登录页面子系统;而这里required设为false,在cookie对象为空,即没有用户登录过的时候访问此接口不会报错,value为TOKEN表示登录成功后所存的Cookie对象的键为TOKEN8、退出登录
在主页面(sso-main)、vip页面(sso-vip)、购买页面(cart-vip)编写接口,页面上给定跳转链接
四、测试
总结:基于cook ie实现的单点登录,该项目由四个系统组成,分别是登录系统(sso-login)、主页系统(sso-main)、vip系统(sso-vip)、购物系统(sso-cart),采用Gradle构建项目,后端采用SpringBoot框架,前端采用thymeleaf工具做展示;要实现各系统之间的cookie共享,需满足:系统之间域名映射;四个系统无论在哪个系统登录成功之后,然后在到其它系统去点击登录按钮,会发现已经实现了登录,这就是单点登录的原理。
细节1:任何一个系统在点击登录按钮时候,在跳转登录URL末尾都要携带自己原系统的URL地址,把这个地址在登录时保存到Session对象中,起到登录成功后跳转回发起登录的这个系统的页面。
细节2:登录接口里面,以UUID产生一个token,保存在Cookie对象中,响应到各个系统,以token为键,登录用户信息为值存取到工具类LoginCache里面。
细节3:退出登录,就是让Cookie对象失效,使得需要重新登录。